
Okay so new project today. I was given a link to a tutorial on woodgrain, but the supplies needed are hard to source and to order online, you had to order a $90 minimum. No thanks! Someone on BrassGoggles showed his results using regular spray paint and gave his mini-tutorial, which I used for my inspiration.
I wanted the hilt to have a dark "stain" color, like a worn mahogany. So this is how I did it (it took about a half hour from beginning to end. It would take longer if you wanted the paint to dry completely before sanding each layer, which you will see I didn't in my tutorial):
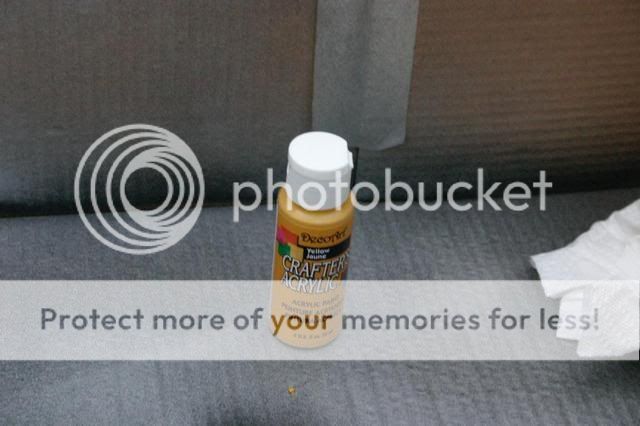
I picked up some regular crafter's acrylic paint in a mustard yellow
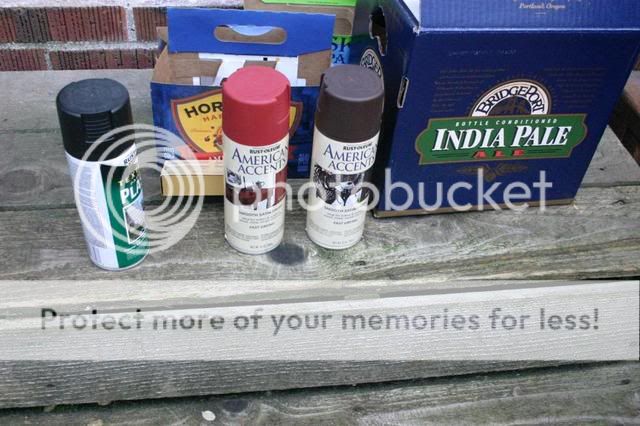
And regular spray paint, at my local big box hardware store, in matte brown and red (already had black)
Procedure:
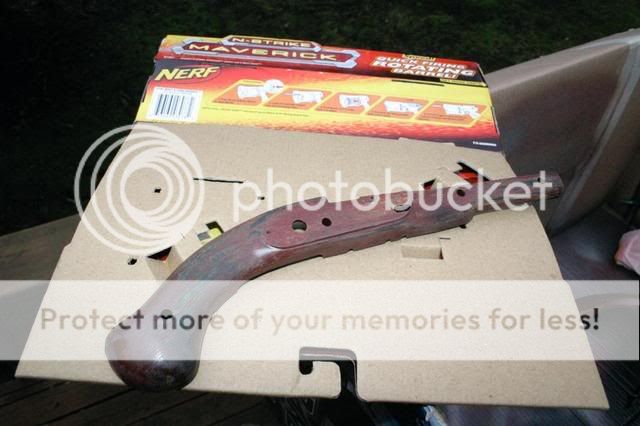
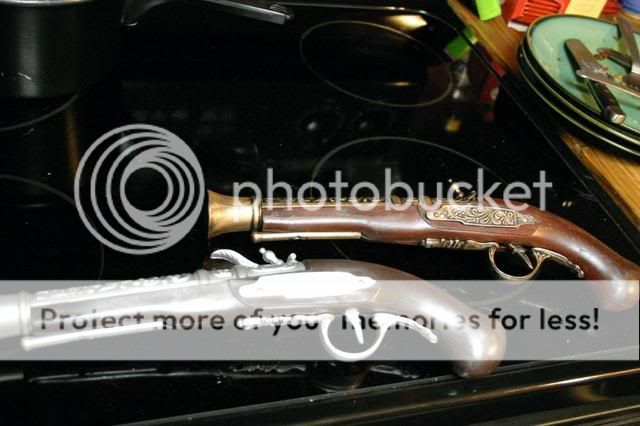
I took the gun apart and sanded all the pieces.
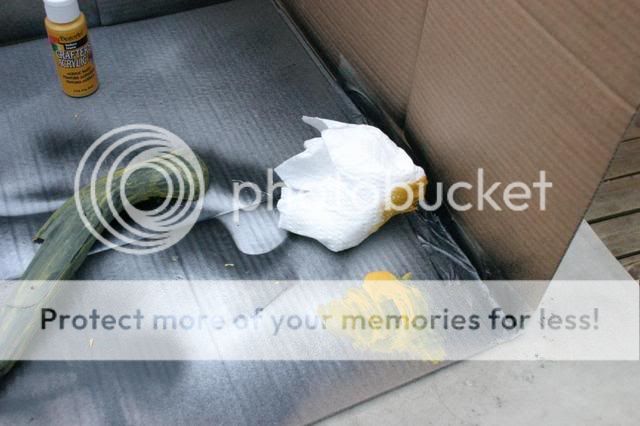
I put a basecoat of black all over
I applied a layer of the yellow acrylic on. The tutorial says to put it on with a rough brush, making striations and leaving black showing through. I couldn't find my rough brush, so I applied it with paper towel. Seemed to work fine.
Let it dry about 5 minutes, then started the layers of the other two spray paints. In the tutorial it instructs you to put on a layer, let it dry, then sand, then repeat with each layer. I simply let it dry a couple minutes between colors and then immediately put on the next color.
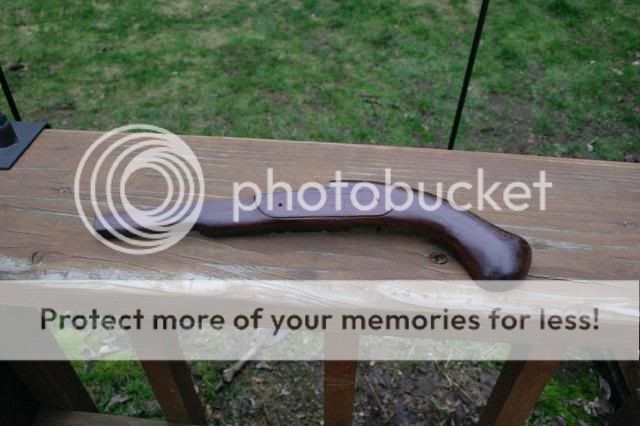
I put on a very thin layer of the red paint. Then sprayed some black on the areas I wanted darkest and most "worn" looking. Then I put a thin layer of brown on top.
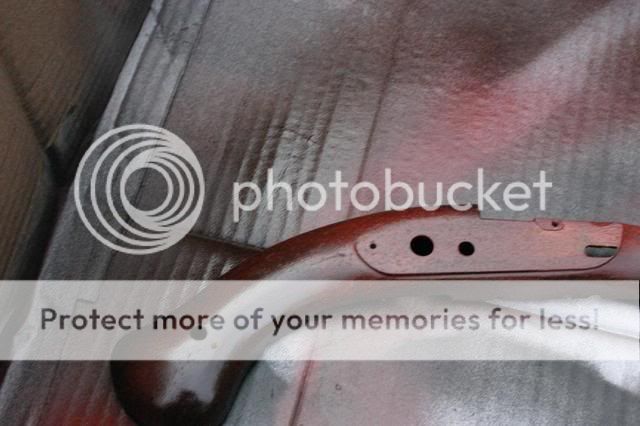

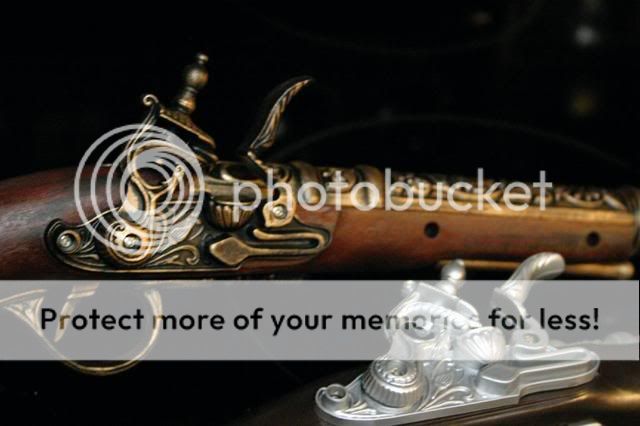
As you can see, it looked like wood immediately! Like a shined, slightly aged wood! I couldn't believe how easy it was! But I wanted mine to look more worn. So I continued.
Before the paint was completely dry (nearly, but just slightly tacky), I started lightly sanding the pieces. In the tackiest areas, more came up, and sanded out roughly, giving it a look of layers of stain over a period of many years having worn back. It was a great texture!
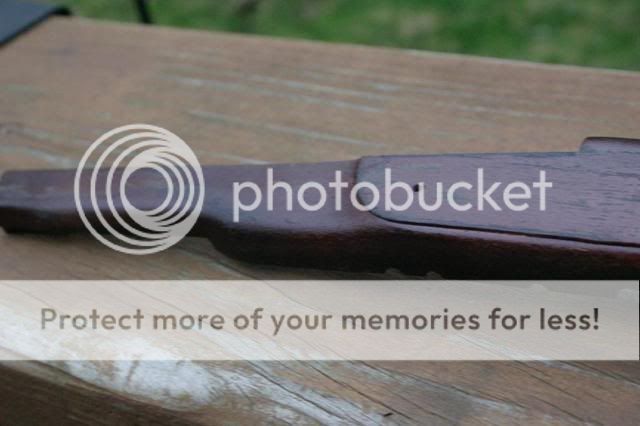
This is with flash on, so it looks lighter than it is:
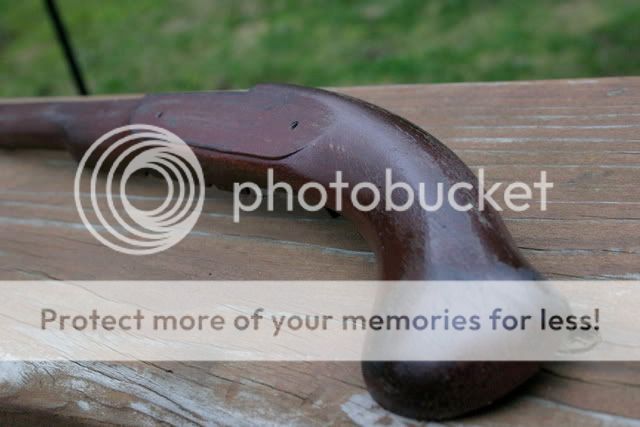
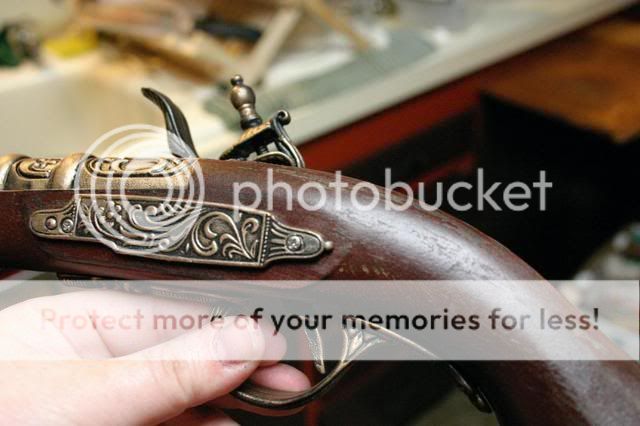
Some of the areas came out too black, and in some areas too rough, for my taste. I wanted some more brown and to smooth out the edges a bit. So I did a final very very light spray of brown over the entire piece, which ended up like this:
I am thrilled with the results. All it needs is to finish drying and for a couple layers of acrylic sealant (I will use matte, but if someone wanted a polished look, a layer of gloss would do the trick).
Now on to getting the barrel and other findings painted up. They have their black basecoat, and I will doll them up with the same pewter Rub n' Buff I used on the barrel of my pirate pistols yesterday.
Isn't this FUN?!
This Sunday Befu is coming over for more gun painting fun fun!! Anyone else who wants a crafty fun day is welcome to join us!
EDIT: Finished, save for a couple coats of matte finish I need to put on when it's not drizzling out.
Here is side by side, the completed gun and the original:
And a closeup (I still need to paint/disguise the screws and screwholes)
You can get it from Amazon, if you are seeking one for yourself. Note that my orange tip was GLUED on. It was a real pill to carefully break away and then Dremel off the crap left behind on the barrel.
http://tinyurl.com/2bnjos


Post a Comment